Visiting the USA can be an incredible experience, provided you are adequately prepared. This comprehensive 10-step guide ensures you cover the essentials for a safe and enjoyable American journey.

Step 1: Have a valid (biometric) passport
Before you even consider visiting USA, you need to make sure to have a valid passport. If your passport is not biometric and your country issues biometric ones, I suggest getting it replaced. Biometric passport makes travel much faster as it allows you to use machines that automatically verify your identity without having to interact with an actual officer at the airport.
Step 2: Obtain a Visa or ESTA Authorization
The fastest (and cheapest) way to get permission to visit USA is to obtain an ESTA (Electronic System for Travel Authorization). You need to meet the following criteria to be eligible:
- Be a citizen of a Visa Waiver Program country.
- Not be a citizen of Cuba, the Democratic People’s Republic of Korea, Iran, Iraq, Sudan, or Syria.
- Have not traveled to or been present in Cuba on or after January 12, 2021.
- Have not traveled to or been present in the Democratic People’s Republic of Korea, Iran, Iraq, Libya, Somalia, Sudan, Syria, or Yemen on or after March 1, 2011.
The above information was taken from this website, where more details can be found.
If you meet these criteria, you can apply for an ESTA via the US embassy in your country. I successfully applied for one in early 2023. Applying for ESTA cost me $21, and I received it after three days. Everything was done online which was great.
If you are not eligible for an ESTA, you need to apply for a visa. This is a much more expensive and lengthy process so make sure to do it well in advance. If you’re going there for a workshop or a conference, try to get a letter from the organizers proving that this is the purpose of your visit. Usually, such a letter can be provided quickly, but do not wait till the last moment.

Step 3: Purchase Travel Insurance
If nobody told you that yet – healthcare in the USA is ridiculously expensive. So expensive that you will get sicker than you initially were after receiving the bill. When visiting USA, insurance is necessary. Do not wait till the last minute, check your options, and purchase it well in advance. Make sure it covers your travel days as well.
Step 4: Book Flights with Adequate Layover Time
When buying a ticket to the USA, I recommend buying a direct flight. However, it is not always available or affordable. If you are buying a ticket with a layover, make sure you have enough time for it, especially if you have checked-in luggage. If the layover happens in the US, you most likely need to retrieve and recheck your checked-in luggage for the next flight. I know, crazy, but it is common and happened to me. You don’t want to run like a headless chicken as I was when I thought I wouldn’t make it (and I didn’t make it and got another ticket 😄).
Do I need to check in online when flying to USA?
I always try to check in online before flying to USA, but there are many instances where online check-in won’t work, so I don’t think it is a must, as you might find yourself having to check in in person anyway. It also doesn’t cost extra to check in in person.
Step 5: Buy an adapter when visiting USA
Can you imagine that I bought an adapter only after visiting USA 3 times, and… forgot to bring it the 4th time? Now I always make sure to pack it and it makes everything so much easier. I invested in this universal adapter and couldn’t be happier. As an Amazon Associate, I earn from qualifying purchases, so when you buy it via this link I will get a small commission, but it doesn’t cost you anything!
Fun fact: I bought a waffle maker in the US and now use this adapter every time I make waffles as well. 😂

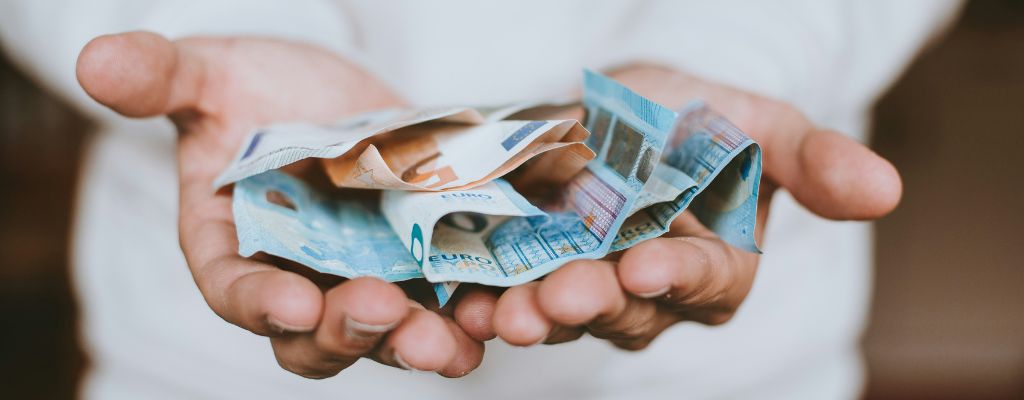
Step 6: Open a USD Account with Revolut and Carry Some Cash
My Belgian card simply refuses to work in USA. I talked to my bank, and they claim that everything should work, but it just doesn’t. Now, I only pay with Revolut via my phone, but you can also get a Revolut card which makes it even easier. Additionally, whenever I get a reimbursement, I ask for it to be sent to my Revolut account and this way I avoid the disadvantageous exchange rates.
What is Revolut?
Revolut is a digital banking platform and financial app that offers multi-currency accounts, currency exchange, and various financial services through a mobile application. You can create an account via this link.
Even though Revolut is superb, I recommend bringing a bit of cash with you when visiting USA as it might come in handy. It saved me in San Francisco when I had to buy a BART ticket. However, I didn’t have Revolut at that time, so maybe that would have been enough.
Step 7: Secure Local Phone Data (eSIM card)
Roaming is expensive, so I suggest getting a local SIM card. If you’re not visiting USA for long, getting an eSIM card might be a better option for you. I like to use Airalo and if you use this link to create an account, you will get a $3 credit to use in the app.
Step 8: Budget for Tipping and Adjust Prices Without Tax
In America, you will be expected to tip almost everywhere. If you ask me, it is a bit too much. I was, for example, asked to give a tip when buying a cookie in a bakery. The tips are not small and are usually around 15-20 %. If you want to dine in, expect to pay much more than you initially planned. The good thing is that portions are usually huge, so it should be enough for two or even three meals depending on your appetite.
Additionally, the prices you see in the stores, are pre-tax, meaning the actual price that you will have to pay will vary. As a European, I was furious at this initially, but you have to accept it.
Step 9: Avoid Sharing Card Information with Hotels
If you are used to European security and privacy, you must forget about it as it is not a frequent practice in USA. The hotel where you will be staying might send you a link to provide your card information. Don’t give it to them and offer to pay when checking in instead. I made this mistake and the hotel tried to charge me almost $10,000 extra (you read this correctly – ten thousand dollars!!!) claiming the payment didn’t go through. Thankfully, I was using Revolut, which didn’t allow these transactions.

Step 10: Work on Pronunciation
All of us, non-native speakers, have an accent and it is normal. However, having an accent doesn’t have to mean that we butcher the pronunciation of all words. At this point in my life, English is the main language that I use in my everyday life, and I consider myself fluent. Unfortunately, there were instances where due to my wrong pronunciation, some Americans couldn’t understand me. I also sometimes face this issue with other foreigners. Therefore, I believe it is important to try your best, identify the words that you are mispronouncing, and attempt to learn the proper way of saying them. It can only make your life easier!
Visiting USA can be an incredible experience, but if not done properly it can quickly become a hot mess. I hope that this comprehensive 10-step guide will help you in ensuring that all the necessities are covered so that you can relax and enjoy your trip. If you have any questions, feel free to ask them in the comment section below. Safe travels!
If you found this post helpful, you can support my blog by buying me an online coffee! ☕️
Until next time,
A.